How to self-host the Zitadel typescript login UI?

Some of our past blog posts cover the topics of designing a custom login flow with our Typescript-based login system.
In this post, we dive into the key aspects of hosting your own custom login UI using the Zitadel typescript library. We will guide you through the steps to deploy your own fully customized login user interface (UI) to Vercel (or the hosting service you prefer) and seamlessly connect it to your Zitadel Instance.
Deploying the custom login UI:
1. Create a Zitadel Cloud instance
Create a free Zitadel Cloud Instance, that will be used to run this demo (you can also use a self-hosted Zitadel instance, if you prefer). Zitadel Cloud Instance Setup Guide
2. Create a User
-
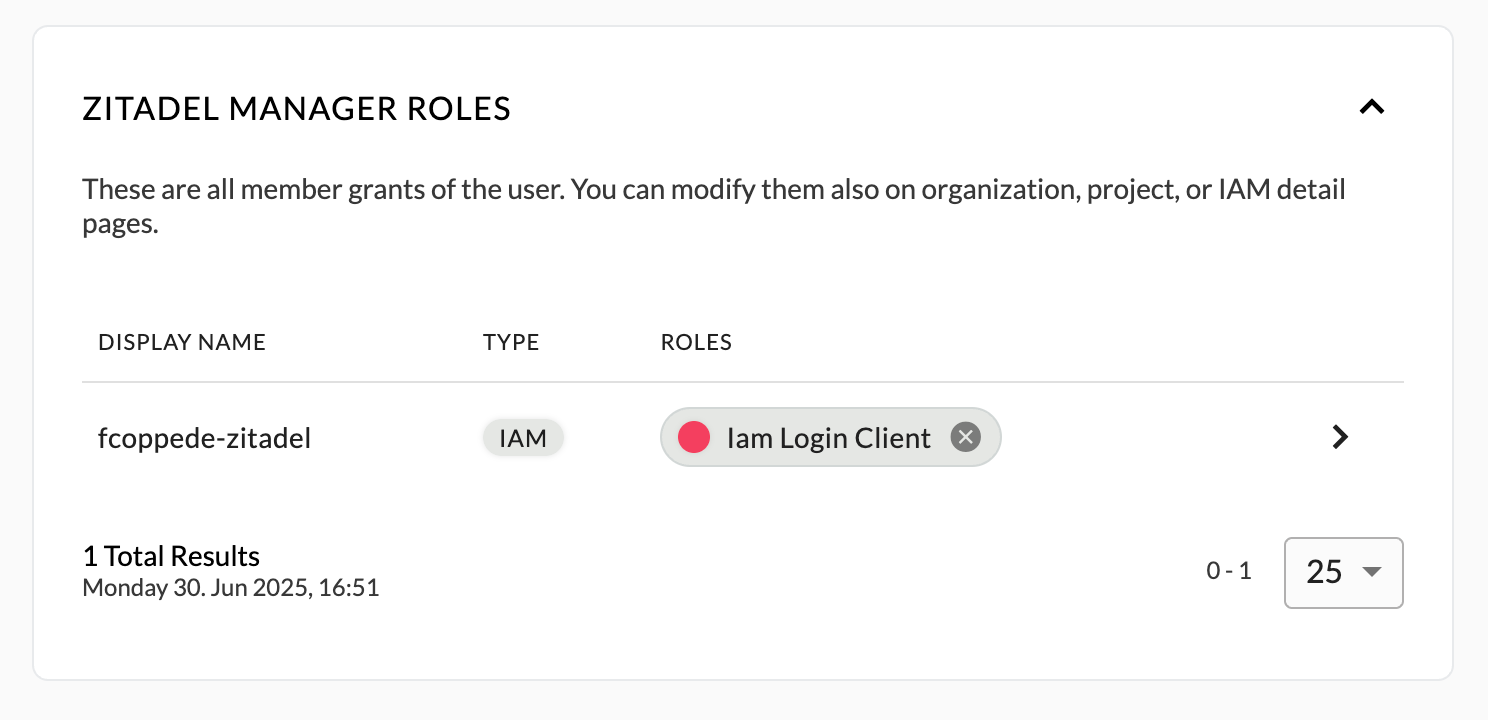
Create a User of type Machine (formerly service user).
-
Assign the IAM Login Client Administrator role- https://zitadel.com/docs/guides/manage/console/managers
- This needs to be added at the instance level.
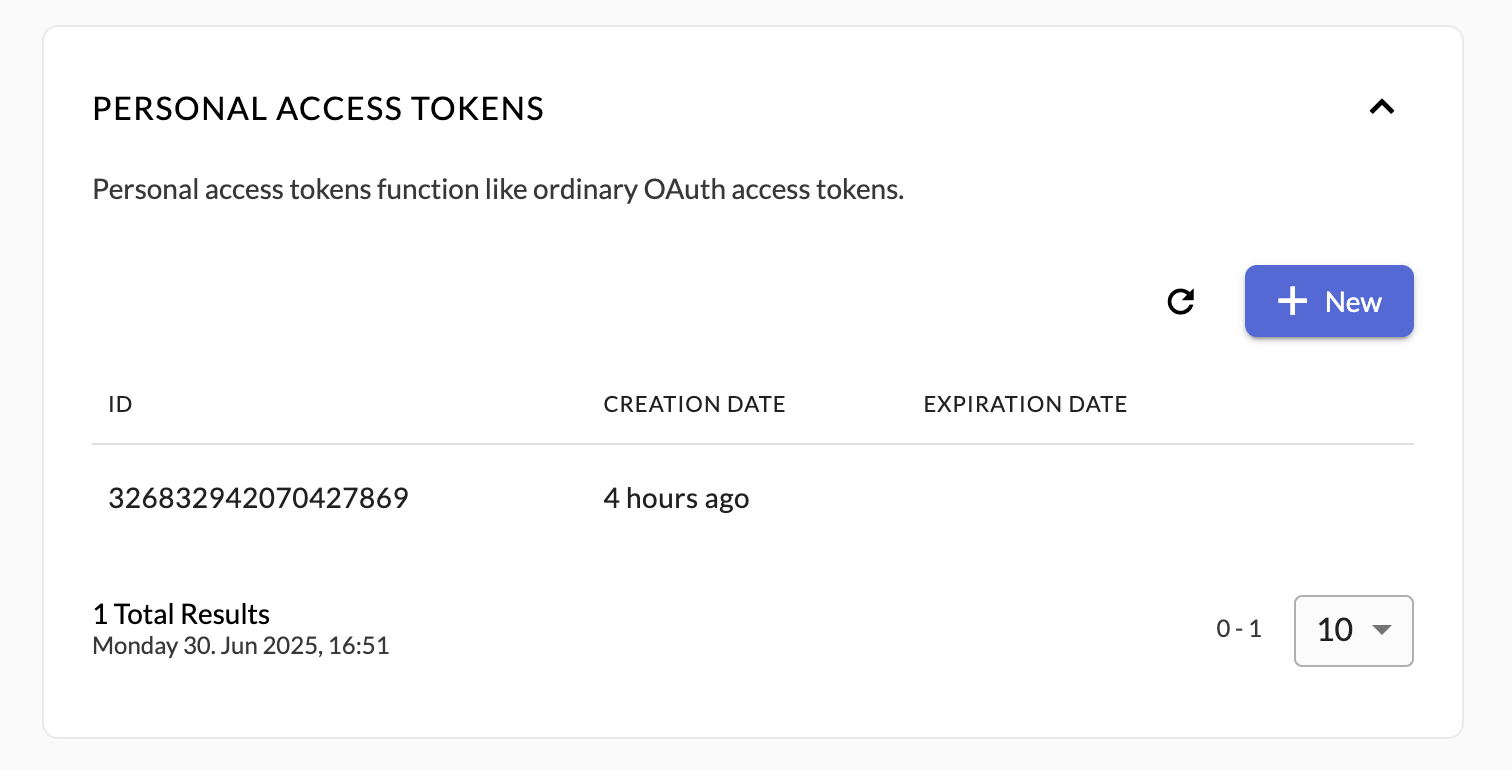
3. Create a PAT (Personal Access Token)
Create a PAT for the Service User and save it — you will need this later.
4. Fork and Deploy the Login UI
- Fork the TypeScript login UI repo: GitHub - zitadel/typescript
- Deploy the project to your Vercel account. You can deploy directly via the Vercel deploy button in the repo README.

4a. Set Environment Variables
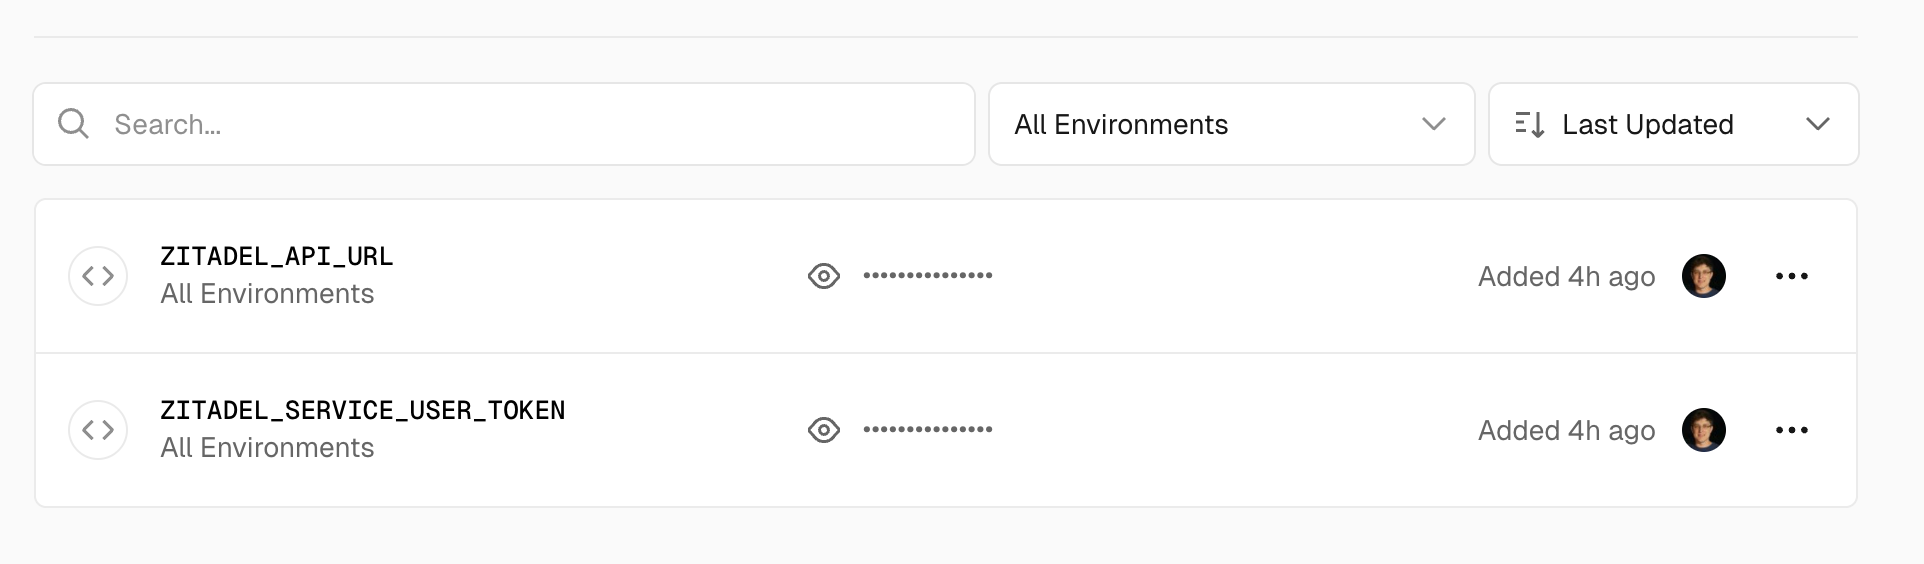
Set the environment variables required by the app:
-
ZITADEL_API_URL: The URL where your Zitadel instance is hosted.Example:
https://<INSTANCE_NAME>.zitadel.cloud -
ZITADEL_SERVICE_USER_TOKEN: A Personal Access Token (PAT) created in step 3 of the setup process. This token authenticates your service user. -
EMAIL_VERIFICATION(optional): Set totrueif you require users to verify their email before they can proceed.
eg:
ZITADEL_API_URL=https://<INSTANCE_NAME>.zitadel.cloud
ZITADEL_SERVICE_USER_TOKEN=<your_pat_here>
EMAIL_VERIFICATION=true
5. Add the Vercel Domain as a Trusted Domain
After deployment completes, copy your Vercel domain (without https://) and add it as a trusted domain to your Zitadel instance.
- Use the Zitadel Management API with an IAM_OWNER access token (not the PAT from step 3). You can use Postman for this.
- How to get access tokens
- Trusted domains API endpoint

6. Configure Your Zitadel Application
-
Open your Zitadel Console.
-
Create a new application.
-
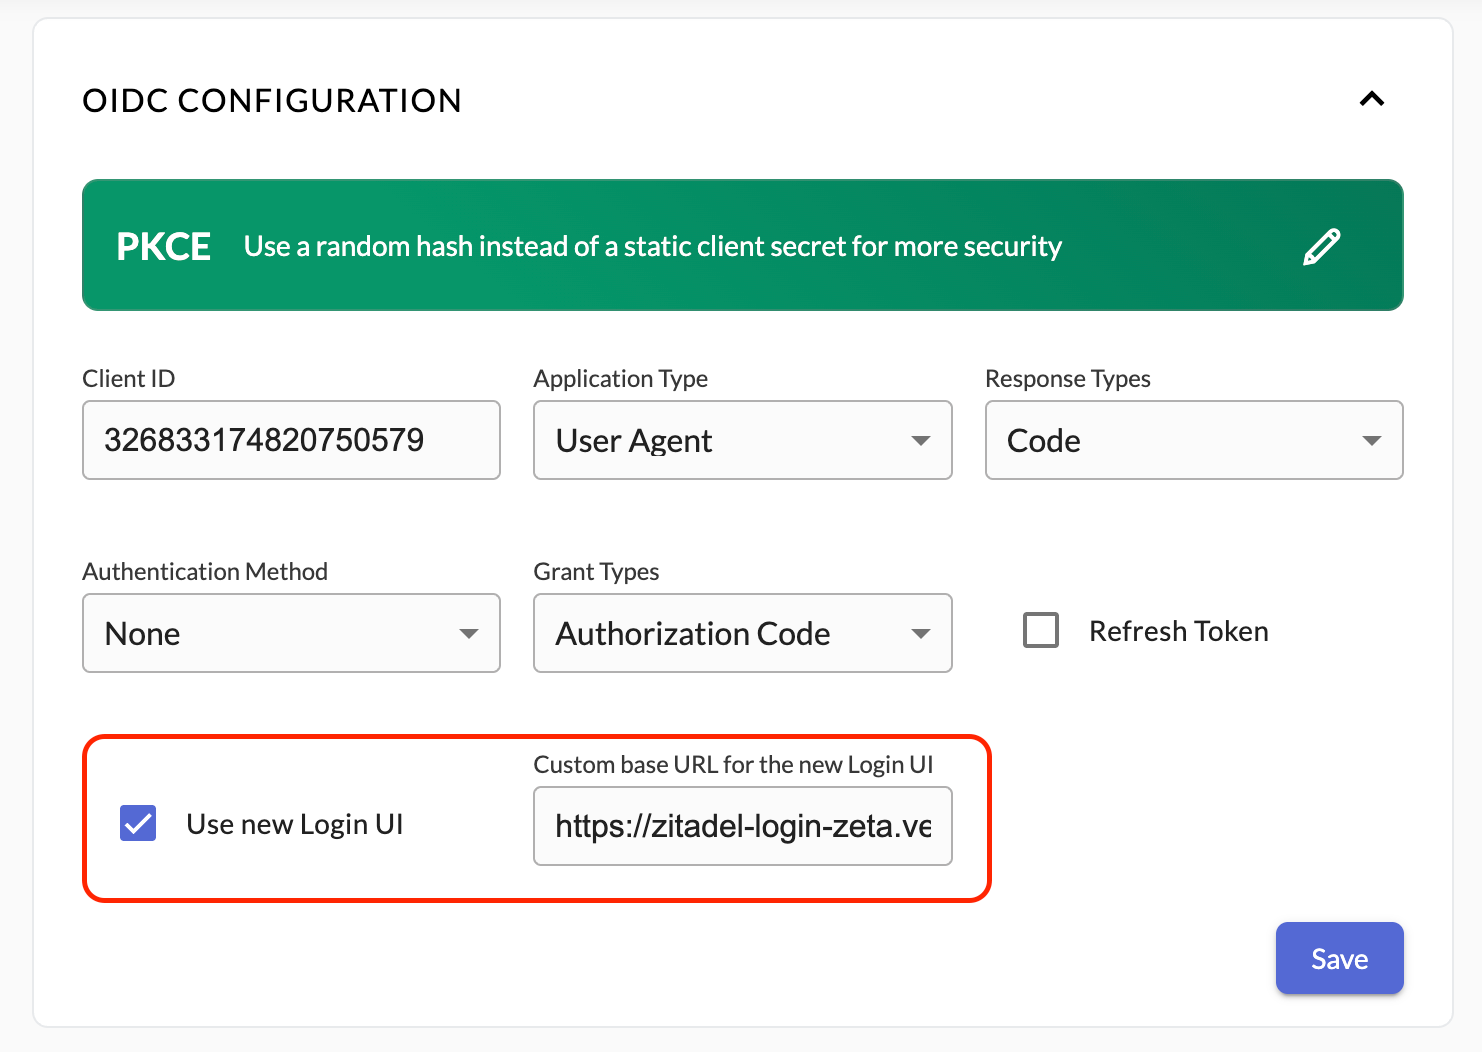
Enable the new login UI checkbox.
-
Add your Vercel app URL as a Custom Base URL. React Login UI Setup Guide
7. Test Your Self-Hosted Login UI
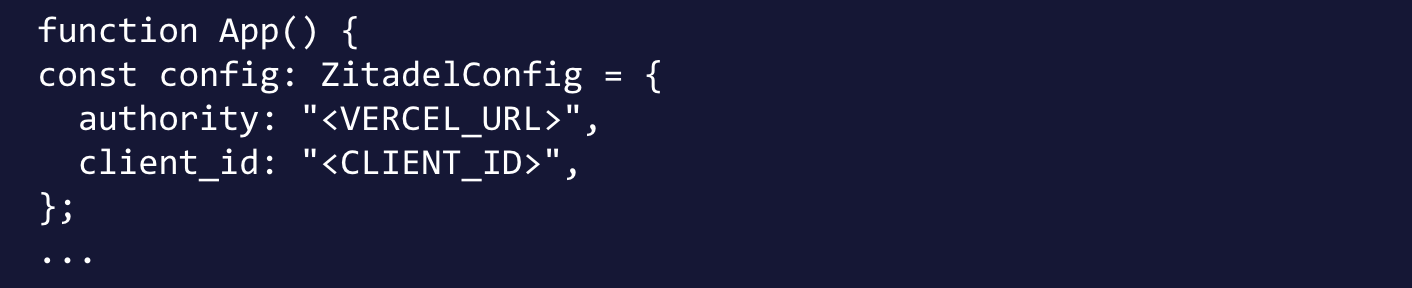
To test your self-hosted login UI, you can use the Zitadel React quickstart application.
-
Replace authority and client ID with your Vercel deployment URL and Zitadel app client ID.
-
Run the app and test login.
Conclusion
Self-hosting the Zitadel TypeScript login UI lets you fully customize your authentication experience while staying secure and scalable. With just a few steps, you can deliver a seamless, branded login flow powered by Zitadel — including the ability to use a different custom login domain per application, a powerful level of flexibility that most of our competitors don’t offer.